Spec for the P38 is an 069 battery - 70Ah and ~600CCA. Positive terminal on front left (back right when fitted). The battery tray can take large batteries so L x W isn’t that important but H <= 225mm. I would treat this as a minimum spec. Batteries with positive terminal front right can fit but may have problems getting the positive cable to reach the terminal if the battery is very wide but that shouldn’t be a problem if you’ve already had a MF31-1000 fit.
Normally the bigger the Ah & CCA the better but the relatively low compression ratio of the V8 means that It spins over quite easily so CCA is not overly critical for an engine in rude health. Same for Ah is the alternator is in rude health. Standard as opposed to AGM is also not that critical.
Currently I have a ‘bog standard’ Halfords’ Calcium HCB072 battery (which is pretty much the minimum spec above) fitted that has just passed its 5th birthday in the vehicle and hasn’t put a foot wrong in all that time. It was procured in an ‘emergency’ but has done really well. I have also had good service from Yuasa 5000 series batteries (in other vehicles) which seem to be reasonable vfm and can be had with relatively high Ah and CCA.
Unfortunately my history with Varta and Exide batteries has never been good!
Although there isn’t much to the reservoir tank mine suffered a leak in the weld where the neck of the airline tube housing was welded into the main tank body. Took ages to find as I put soapy water all over the collet and air pipe, and the drain plug, but not around the weld on the neck! Eventually I did and, hey presto, the tell tale bubbles - only a very slight leak but a leak all the same.
I didn’t have a welder at the time and my current diy home MIG welder isn’t up to the job on that thickness of metal anyway. It was more expensive to pay someone to weld it up and test it than buy and refurbish a second hand one off the bay of e. It looked pretty ropey when I received the eBay offering but it was just surface rust and cleaned up really well, was treated with rust prevention and then given three coats of Hammerite. Looked like new.
Ha ha, yes the automatic mode for leaving roundabouts had crossed my mind as well. Mine only does this ‘trick’ on initially turning right, it doesn’t do it when initially indicating and turning left. I realise it’s a first world problem, I just wondered if it was a common ‘fault’ with a simple diy fix.
I have a slight problem in that my indicator stalk, when self cancelling after a turn, cancels but then continues on to start indicating the opposite way - it shoots through the centre position. Now it only does this when the ambient temperature is cool/cold. During the summer it doesn’t do it but now we are entering Autumn it’s started doing it again. Is this a common problem with an easy fix or should I start looking for a replacement stalk?
When I replaced all my cruise control vacuum tubing I bought it on eBay from a supplier called pc_industries. Quick service and good quality.
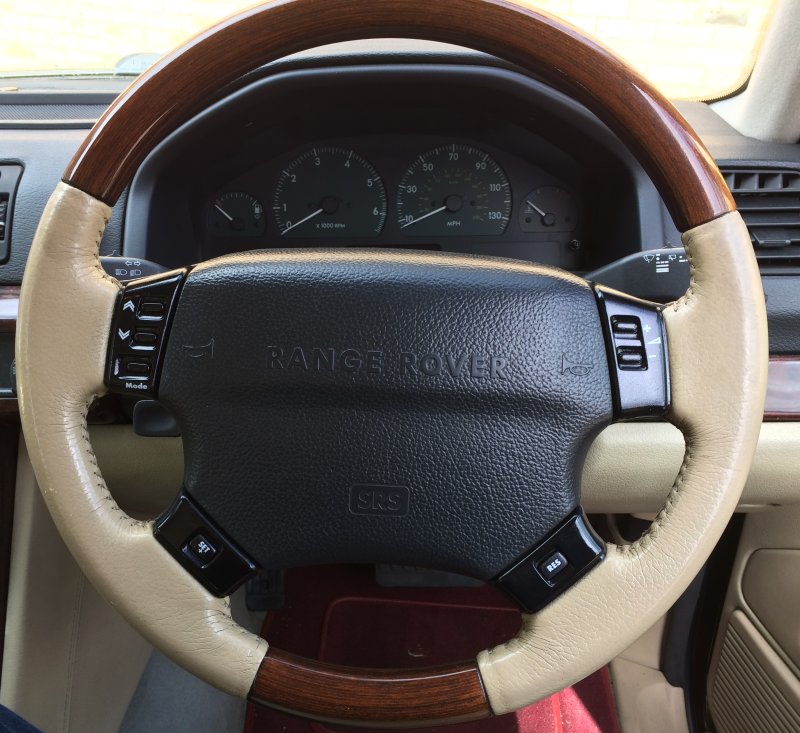
The last vestiges of the icons on my steering wheel controls had finally disappeared so they had to be replaced:

There are plenty of suppliers on the bay of e. I use the reinforced silicon rubber hoses (they have the material webbing down the middle) for both for vacuum as well as coolant hoses. If you search for E10 resistant or compatible fuel hose there are plenty on-line - Google is your friend.
Forget the request, the piccies have appeared in my post. Must have taken some time to get through the ether to the server!!!
What's the secret?
I have my own web site space which I've pointed to but the pictures are not showing?
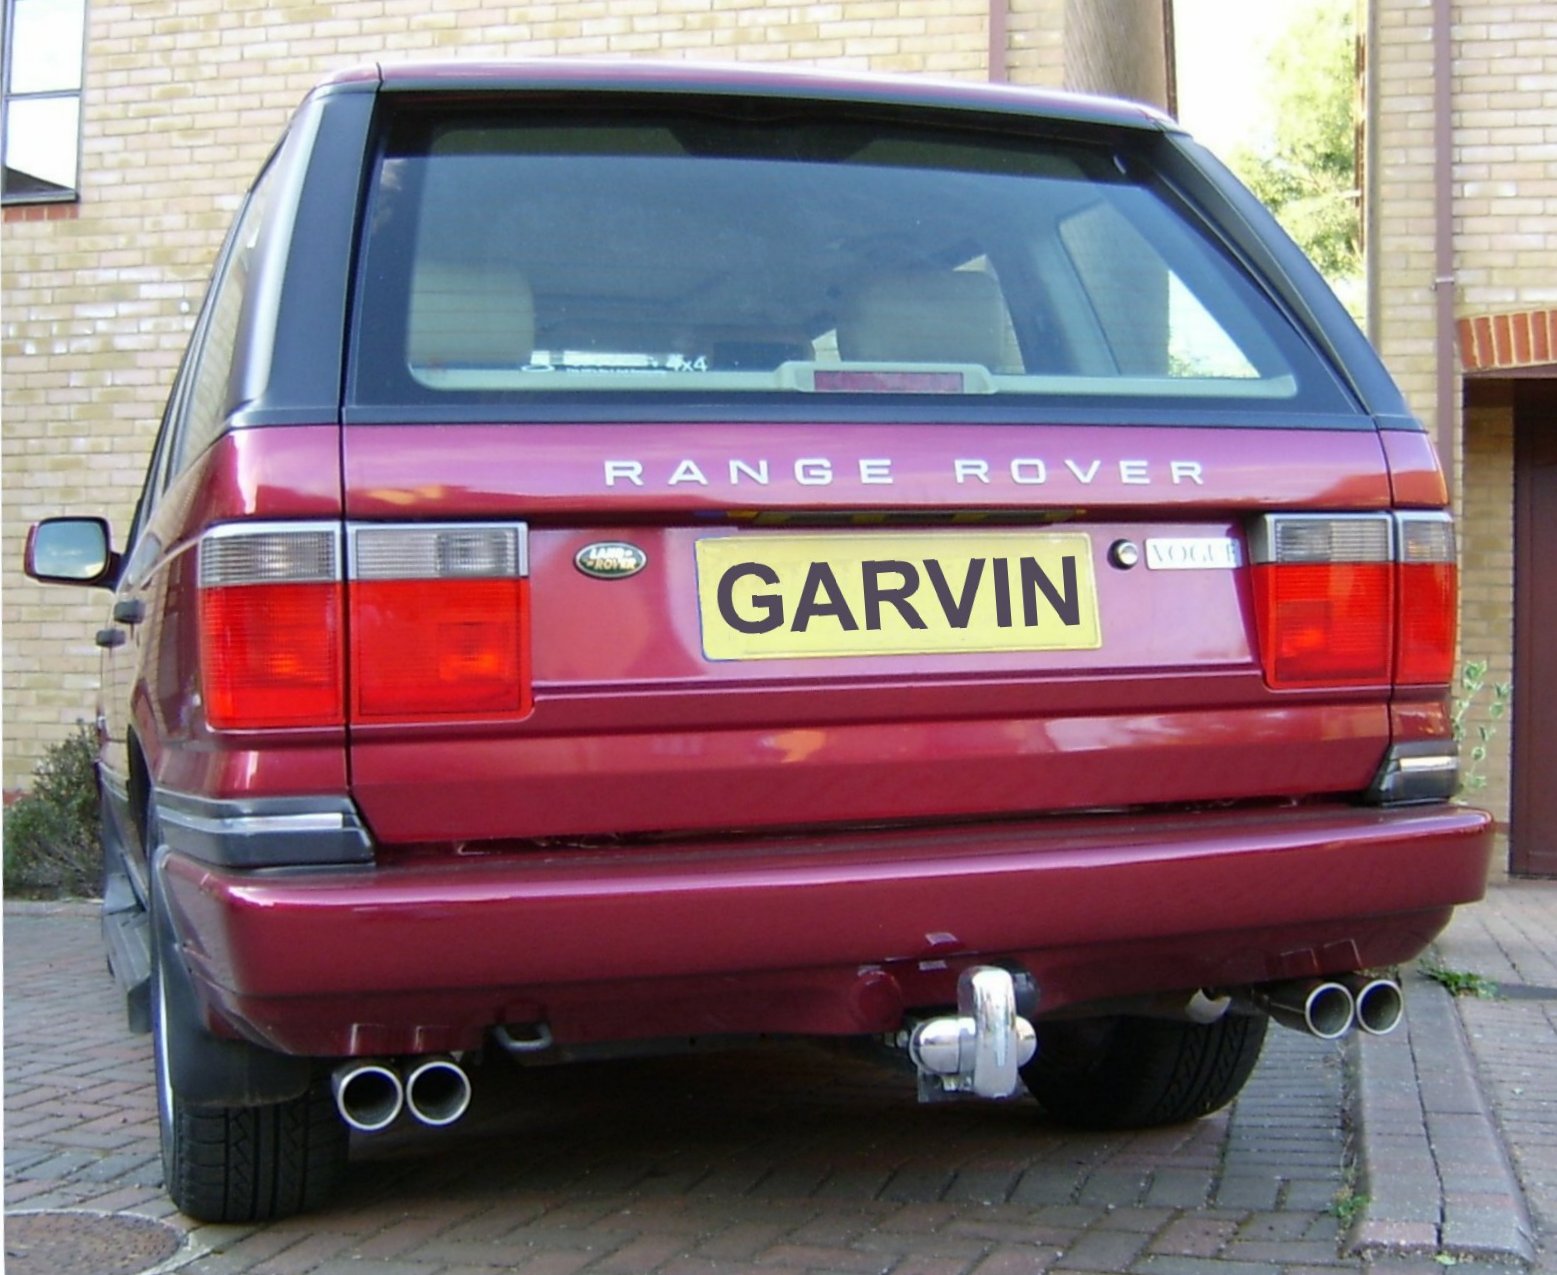
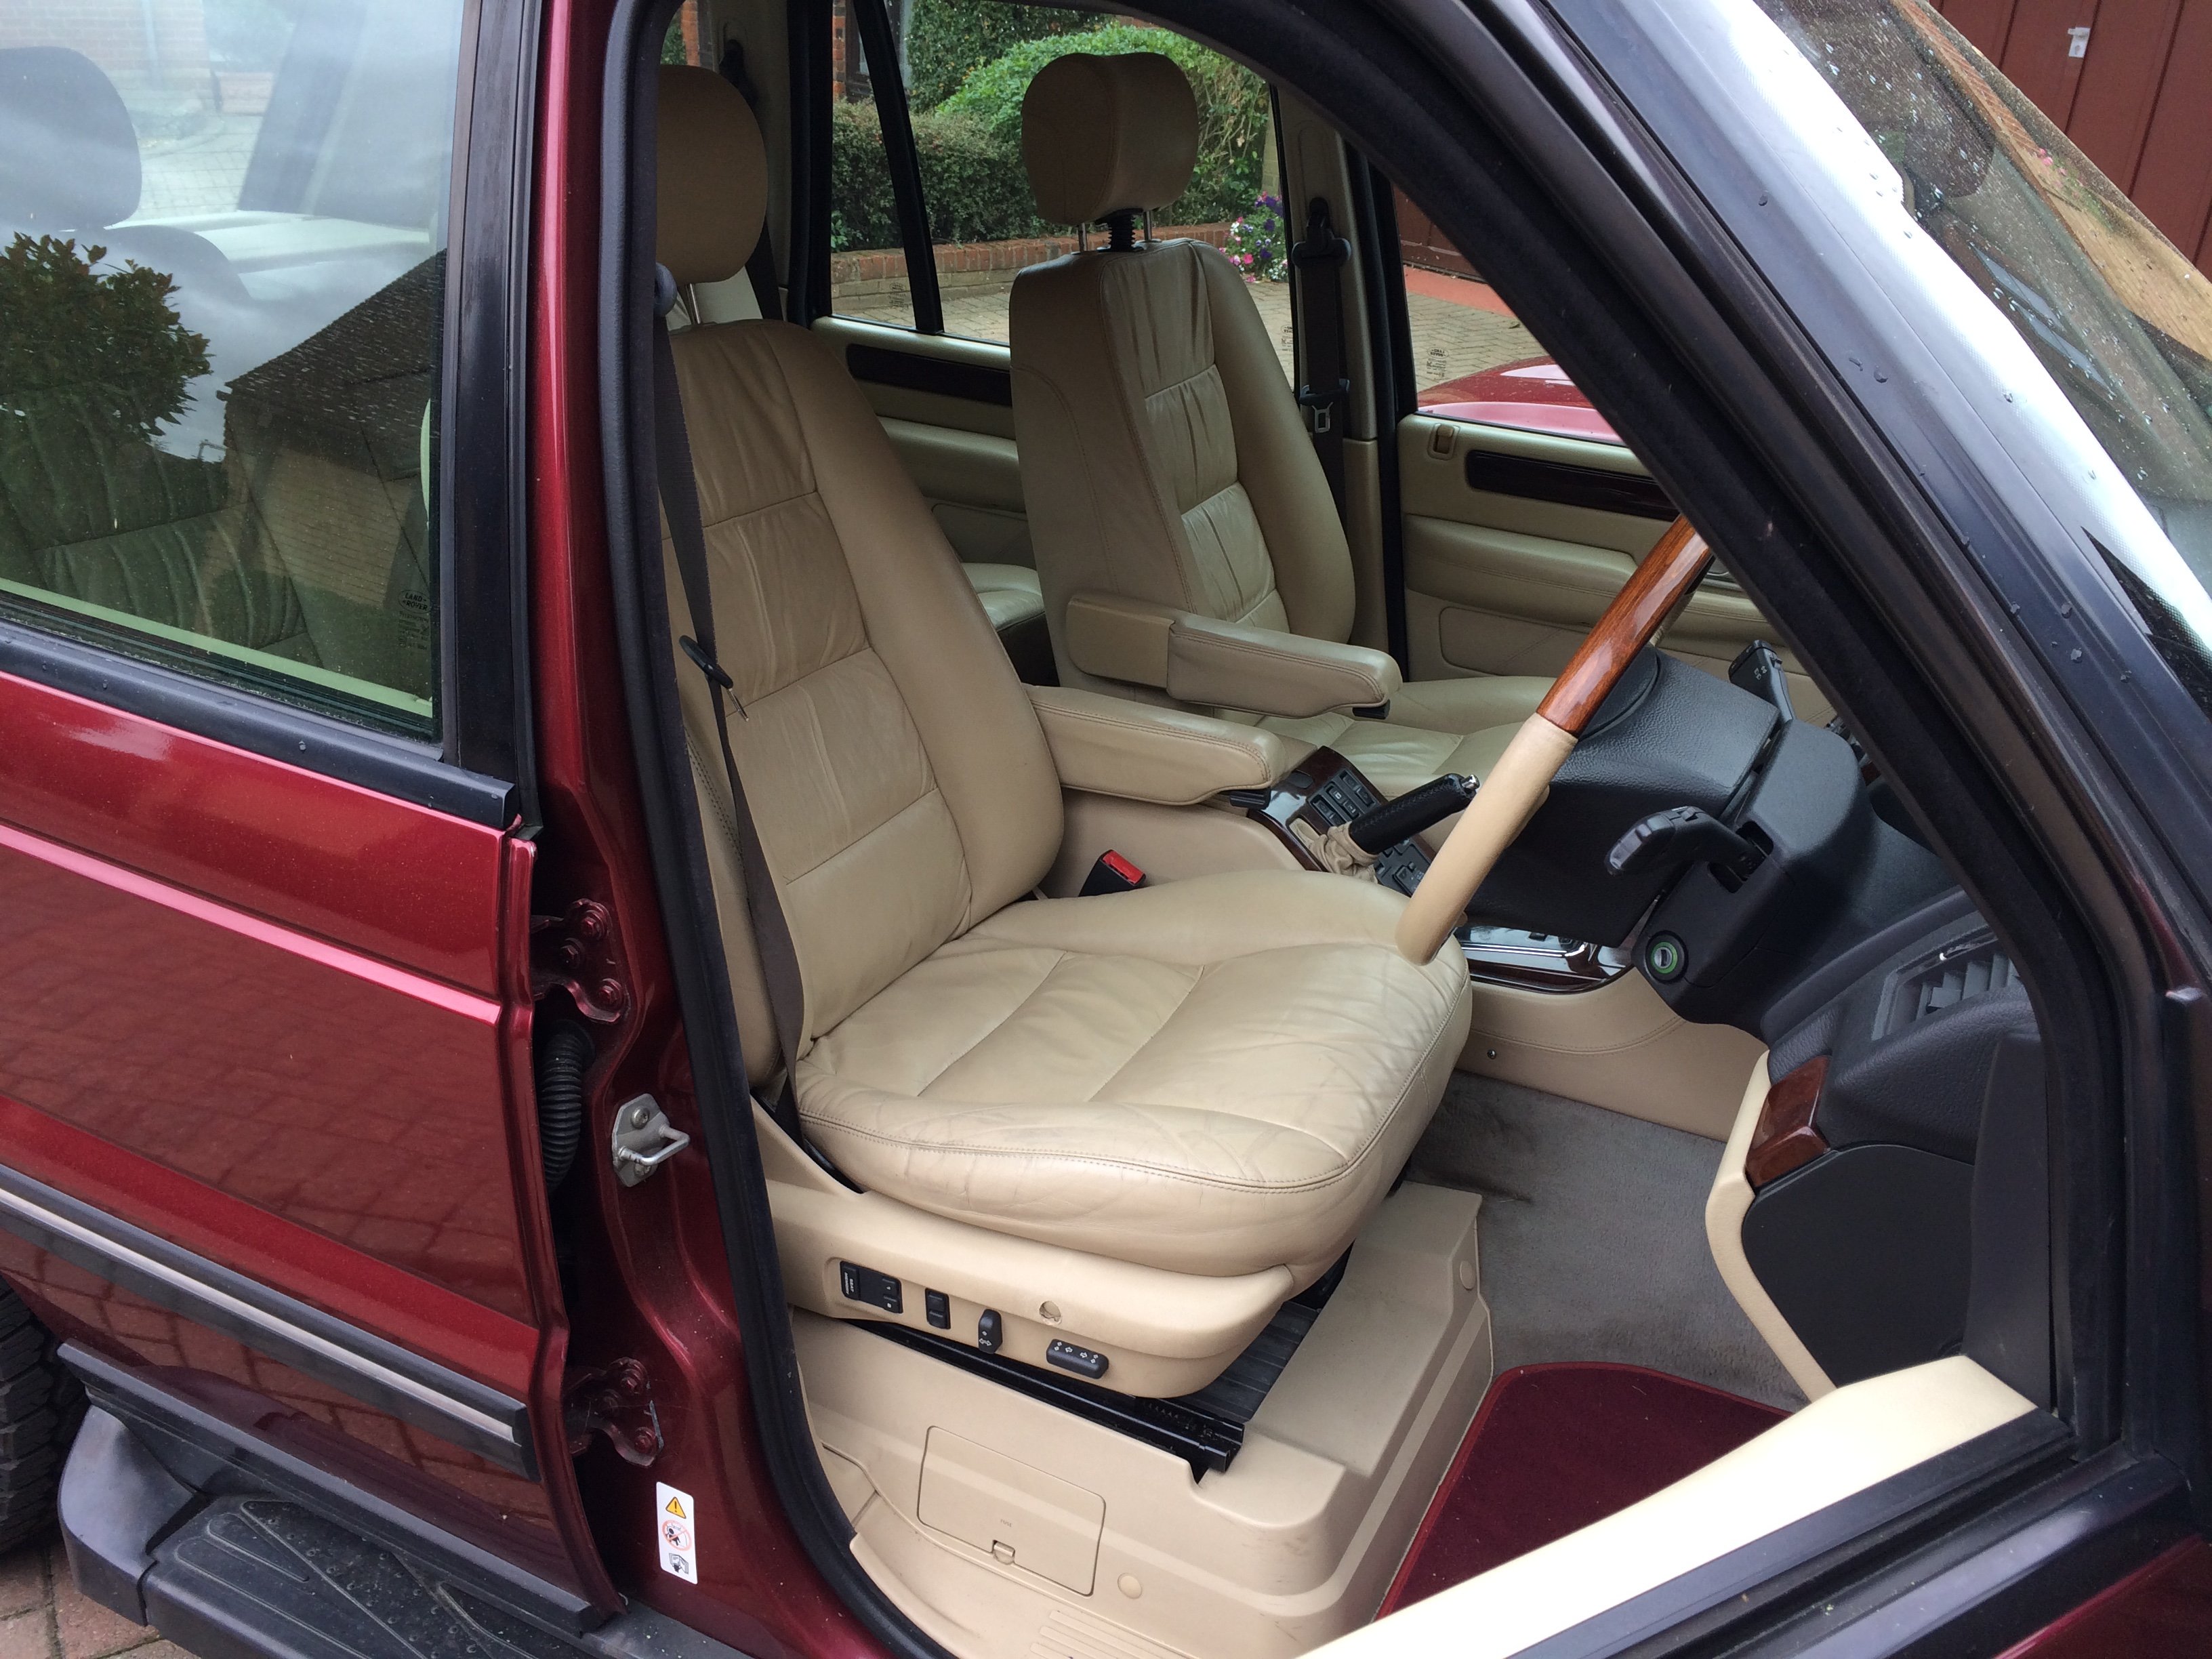
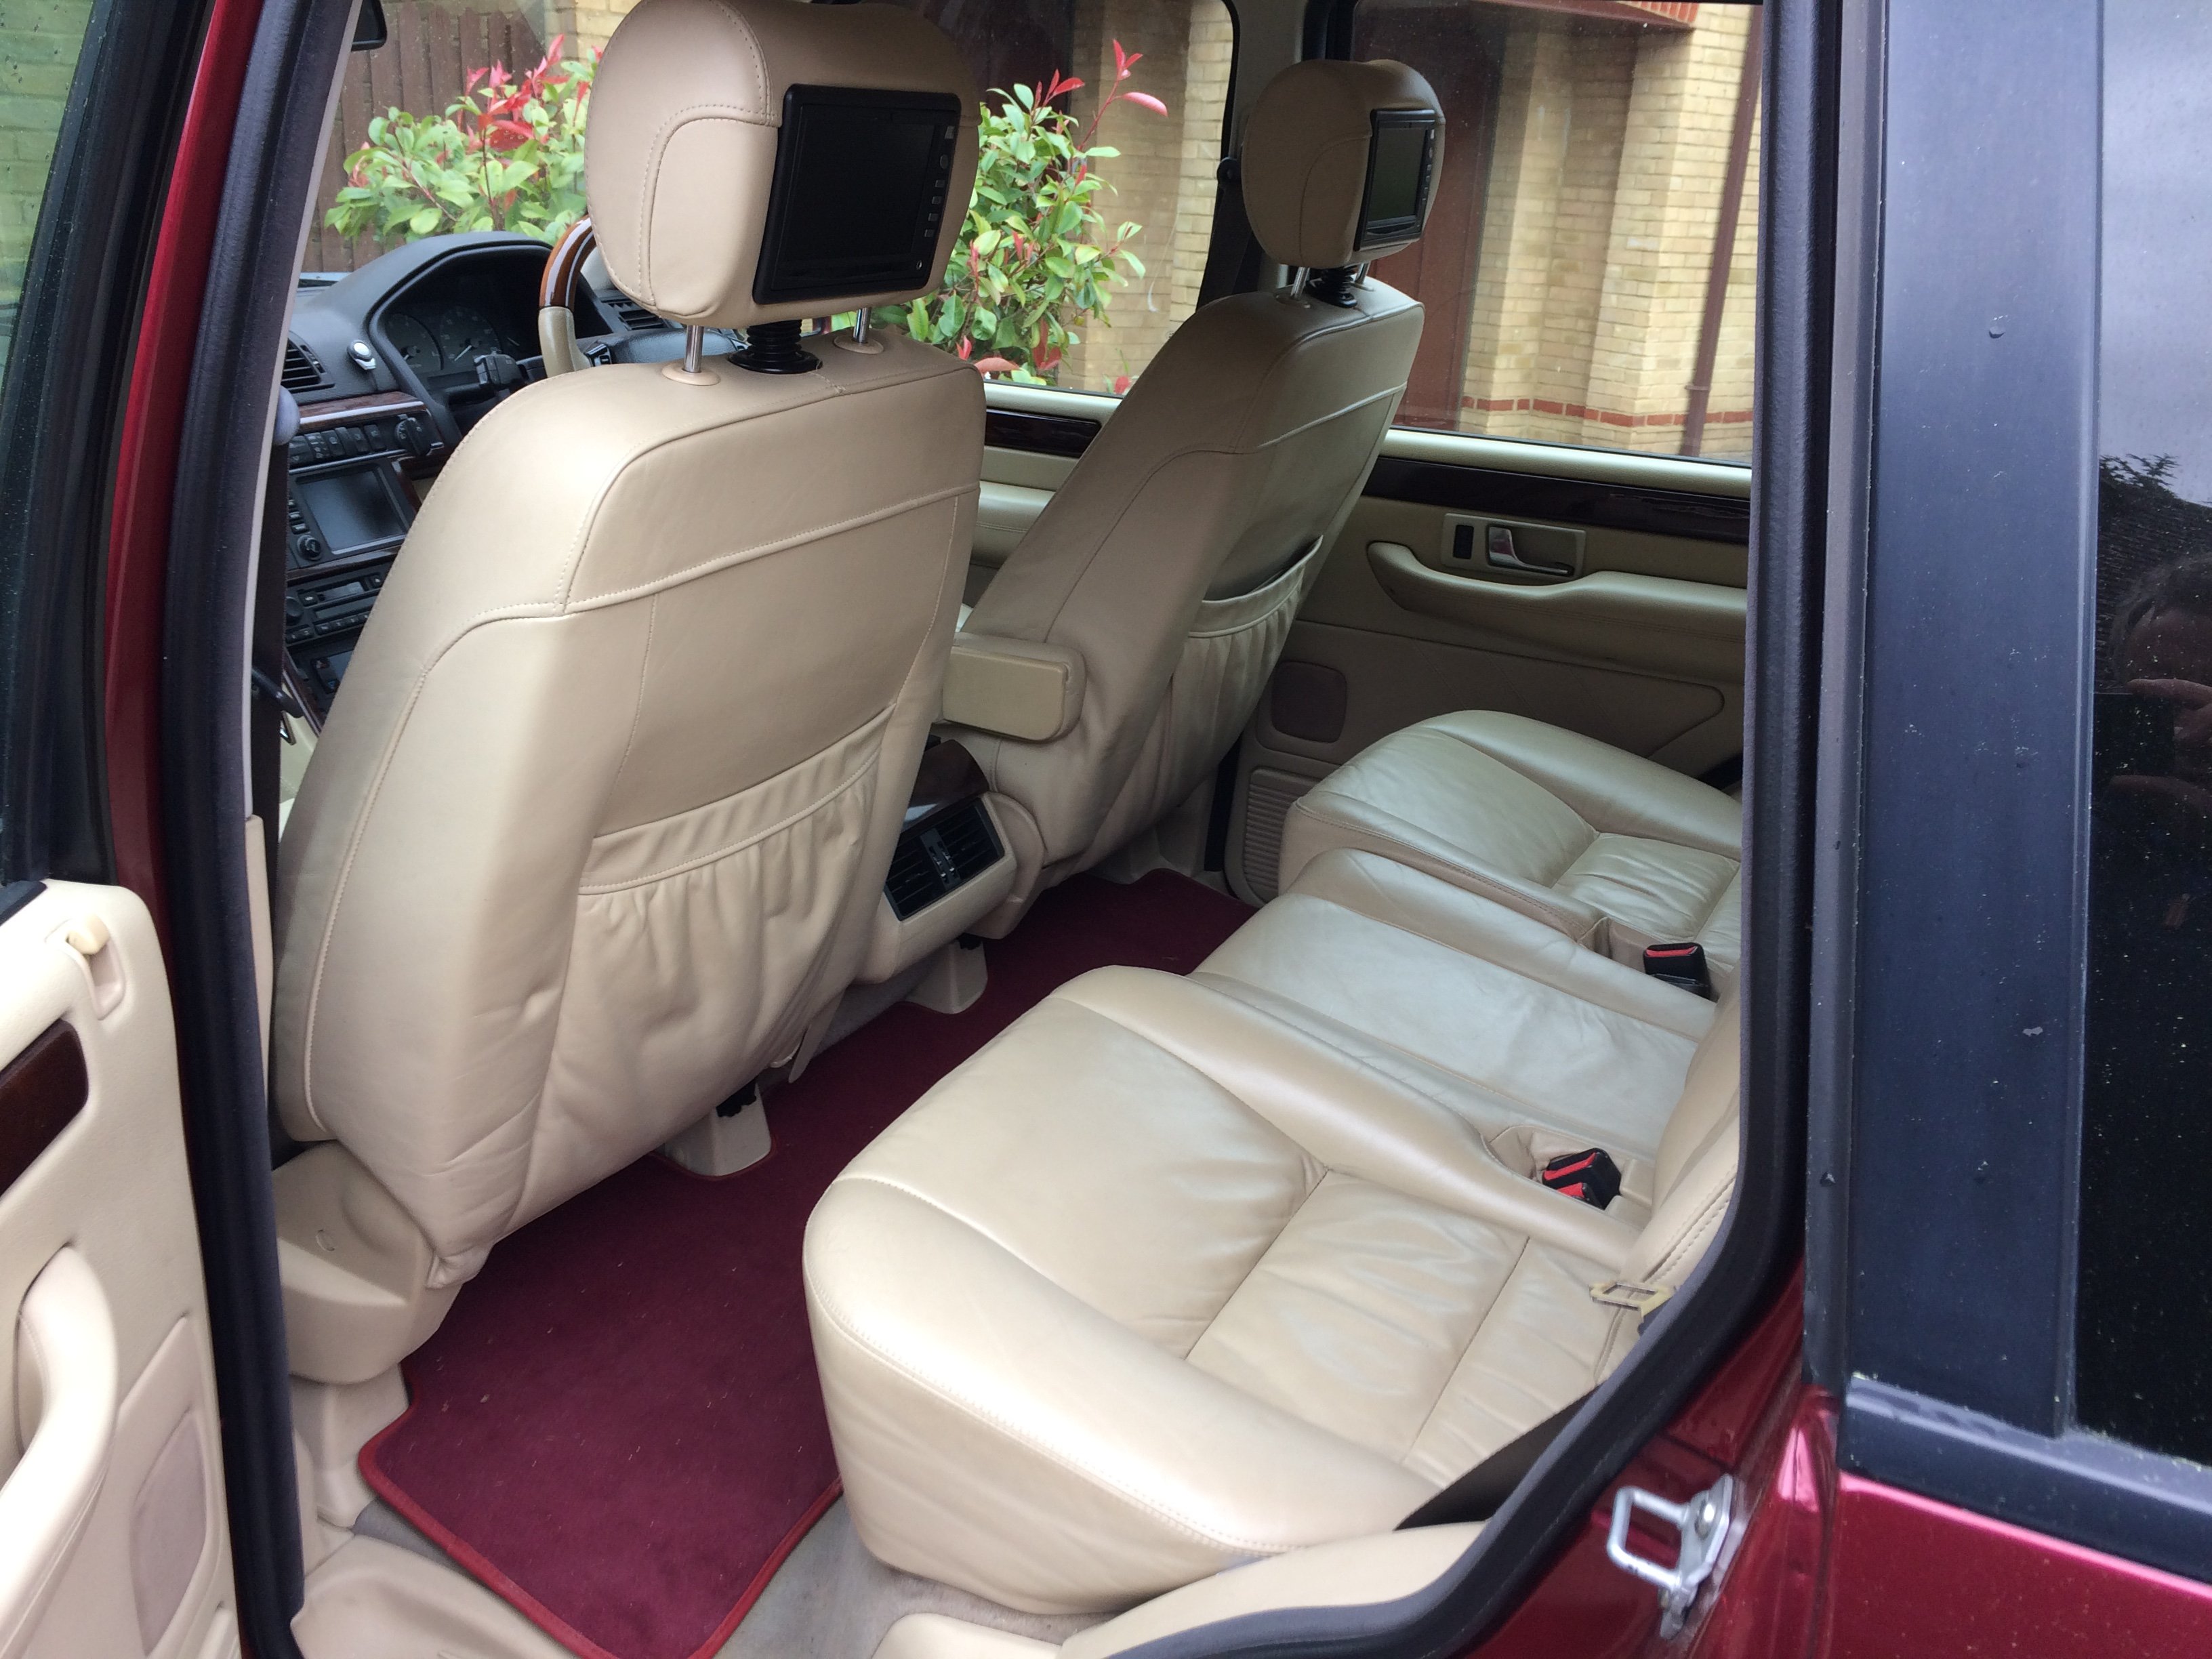
Herewith Rangie in all its glory:


It’s a Clarke (Machine Mart) blast cabinet attached to an AirMaster compressor. Just set the compressor output at 80psi and, quite literally, away you go with the supplied nozzles with the cabinet. However, the choice of material to blast with will make a difference so a bit of experimenting is needed but it’s hardly onerous to screw another nozzle on and have a go. I am currently using Sealey Glass Shot Blasting Beads. They are quite aggressive as most of what I clean is hard metal car components that don’t need a nice smooth finish. There are a multitude of lesser ‘soda’ type materials that are somewhat less aggressive for a better finish.
Apropos of nothing in particular I have brass door hinges around the house and they always tarnish and during redecoration I like to clean them. Used to be a complete PITA but the blast cabinet brings them up nice and shiny with next to no effort. I also now lacquer them before refitting to keep the shine more permanent.
You don’t need 20cfm on a small blast cabinet. Mine requires just 5cfm at 80psi to run adequately. Indeed the blast cabinet is not to be run at more than 80psi. My small compressor can supply ~8cfm at 80psi and it’s absolutely fine for small jobs.
Having just been in Halfords for some automotive lotions and potions I can report that the Halford’s part number is HFX363
I don’t know the part number but they are readily available standard studs that even Halfords stock - well that’s where I bought mine from some years ago now though.
For the small stuff I use a Clarkes (rubbish) wash tank that works pretty well. For small but serious stuff I use a (rubbish) Clarkes blast tank which also works pretty well connected to a (rubbish) AirMaster compressor which also works pretty well. For the really big stuff I use a (rubbish) Simac steam cleaner that also works really well. The drive then gets all the crud washed off it with the (rubbish) Karcher pressure washer that, wait for it, works really well. Brake cleaner is used as the final rinse for ‘sensitive’ stuff. Meths is used for stubborn interior stains before the application of proprietary cleaners (smells so much better than turps, white spirit or petrol).
These are all cheap, some would say value for money, items that do the job. Sure, if I was using them every day as part of my employment I would use stuff of better quality and, of course, more expensive. However, for home DIY this cheap stuff is perfectly adequate and not so rubbish as some would have you believe and makes jobs a lot, lot easier.
I also use citrus degreaser in the wash tank as it can be disposed of very easily and legally and isn’t a fire risk unlike some of the exotic potions one can use.
PS: I am allowed to use the kitchen dishwasher for cleaning of the EAS valve block body parts when I refurbish them and an oven for drying them!
If the system has achieved its required height and all valves are closed then if a leak occurs at an air bag on the move above 5mph then how does the system try and adjust? There should be no loss of pressure in the reservoir once refilled or in the valve block. The only signal to the ECU will be from the relevant height sensor and I’m sure the system will try and adjust! If this is the case then why will it not try and adjust with normal suspension movement?
Update : Having gone through the EAS system with a fine toothcomb I cannot find any leaks and if there is one it can only occur when on the move so almost impossible to find. I cannot find enough detailed information about the frequency the ECU actually monitors the height sensors when on the move and makes adjustments so trying to ascertain what is a reasonable duty cycle for the compressor has also defeated me. The only information for the compressor running are the pressures that it cuts in and out at. Therefore I think it reasonable to assume that the system must regularly monitor the suspension geometry and correct it as necessary when on the move - after all in a leaking system it will 'dance' when stationary with the engine running! It follows that with suspension movement then the readings on the height sensors will continually adjust and the system will try to correct by allowing air in and out of the air springs when on the move and, thus, the pressure in the system will drop and the compressor turned on to replace the used air. In other words the few seconds running of the compressor at intervals when on the move is probably quite normal.
I have also ascertained that there is nothing amiss with the compressor - it just vibrates more when the going get a bit tougher at higher back pressure which is to be expected. I also ascertained that the reason it sounds more noisy since I recently rebuilt the valve block is that, and I'm a bit embarrassed to admit this, I put the domed washers back in the wrong way round! I have removed/replaced the compressor many times and never got it wrong before. Now it's installed properly I can't tell when its running.
Regarding leaks other than the air spring side of things I should add that if the vehicle is left parked for days on end then as well as there being no discernible ‘sag’ of the suspension it will also rise to normal height as expected immediately on being driven. I would expect any leak from the ‘other side’ of the system to deplete the air tank/reservoir and cause delays to the suspension rising to normal height when moving off from a parked position - I’ve certainly experienced that in the past.
Although the compressor sounds like it is labouring it still has plenty of puff and the noise it almost certainly due to some wear in the compressor coupled with the anti-vibration mounts being past their best. I will change the mounts which will probably quieten things down such that the noise/vibrations are not obvious in normal driving. I think I’m only now aware of the compressor being on because of the noise/vibration and it could well have been doing its on/off cycle for a long time!
I’m just wondering if slight leaks happen when on the move as a normal result of the increased pressure in the air bags as they soak up the bumps and the compressor cycling is normal or, perhaps, my pressure switch has too close a pressure difference between switching off and back on. Or some other reason.
My air compressor is very old and has been ‘rebuilt’ a number of times but has now become noisy particularly for the last 20 seconds or so before cut off when, I assume, the back pressure is high and working the bearings etc quite hard. I have just rebuilt the valve block and there are no leaks in the system - it will not drop at all if left on any height setting when parked up for days. It rise and falls as expected when running, does not ‘dance’ when at a standstill, levels it self when parked and holds station nicely. NanoCom reports no faults and all height sensor readings appear OK.
However, due to the compressor being noisy I have become aware of when it operates and shuts off in normal driving and when travelling at a constant height i.e. when not having to transit between ‘normal’ and ‘motorway’ modes, the compressor operates regularly (every one or two minutes) for very short periods of time for between 10 & 20 seconds as if it is just topping up a very small drop in tank pressure. Is this normal behaviour/duty cycle?
Another update:
MicroSD card found and GROM BT-3 unit reflashed with BMW v21 firmware - quick couple of flashes of a tiny lamp on the circuit board which then held steady and . . . . . . . . . all now works beautifully as advertised by GROM including the phone, USB charger and aux input.
All checked as a lash up out of the dash and final installation will have to wait until after a brief holiday next week.
I have also wired up a relay board with 8 changeover relays so the CD player can be retained (I know, I know) and switched between GROM and CD at the flick of a switch. I tried finding an 8 way change over rotary switch but failed to find one of requisite size. Besides which the relay board was only £6. This will sit with the iPod connector, USB charger and aux input jack in the central cubby so the dash will still look stock.