rangerovers.pub
The only place for a coil spring is up Zebedee's arse
Member
Joined:
Posts: 2448

Folks,
I need to drill and tap a new hole. I've now got a suitable tap - M12x1.75 and an HSS drill bit of 10mm. According to all the online charts I can find, I should be using a 10.2mm drill bit. Will the 0.2mm difference mean certain failure and death?
Or should I just crack on with the 10mm?

As you can tell, this is the first time I've ever tapped a thread :)
Thanks!

Member
avatar
Joined:
Posts: 8107

0.2mm would make a difference if you were trying to tap a 3mm thread but not a 12mm. Just take it slowly with the tap, back it off to clear the swarf every half turn or so and use plenty of lube. Toolstation do a proper drilling, tapping lube in an aerosol but since using the last of mine I've been using a can of 30 year old 3 in 1 oil.

How thick is the metal you are tapping?

Member
Joined:
Posts: 2448

It's about 10mm of aluminium. I need to put new threads into my Jeep's steering wheel because the puller just ripped the thread out on the previous attempt. I'm drilling it about 4mm bigger than last time and I'll see if I can fit some nuts behind the plate to add some more strength.

Member
avatar
Joined:
Posts: 8107

Should be no problem in ally, might be more critical if you were tapping a blind hole into a big lump of steel but 10mm thick aluminium is pretty soft anyway.

Member
Joined:
Posts: 2448

It sure is :(
And someone gorilla'd the centre nut on so tight I had to use a breaker bar to get it off again :(
Thanks Richard, hopefully I'll get this sorted now!

Member
Joined:
Posts: 662

Um. What species of tap have you got? Ordinary hand taps i.e. taper, second, bottoming can be a right pain to start in soft "casting muck" alloy. Especially a fairly course thread like your M12 x 1.75.

It's very easy not to get a clean start with the taper tap and end up reaming out the hole rather than cutting the thread.

Especially if you've not done it before and have no feel for just how much the tap should pull in for each turn. Like so much of this sort of thing once you have done half a dozen or so you wonder what the problems were. But first time out. On your own. Un-mentored (and a bit P'd off with the whole palaver) is whole different ball game.

Can you find something to practice on first?

Ordinary high street / industrial estate hardware store, motor factor, not too expensive off E-Bay et al supplied taps frequently aren't totally wonderful either. Will get the job done once you have your eye in but .... Serial form taps, where the first (and second if there are three) are smaller diameter(s) are a lot easier for folk in your position but the price is hardly one off job friendly.

If I had a set of M10 or M12 serials about the place I'd drop them in an envelope with the right size drill and post tomorrow but unfortunately I don't.

To be honest the best fix would be to put a Wurth TimeSert thread repair bush in but the kit is seriously not cheap. That way you get a steel thread expanded into the alloy which will neither strip nor pull out. Been doing a few a year for the last 30 odd years and I've yet to have one come back broken however gorilla-oid the customer.

Once you have got your thread in lock the puller bolt or stud down into the boss with a nut and washer done up decently tight before you try to pull the boss off. Makes things a lot stronger. With a simple stud screwed into a thread only the first three or so turns do any work so its all fairly weak. Adding the nut brings more threads into play and seriously stiffens things up.

Best of luck and hope it goes well for you.

Clive
Member
Joined:
Posts: 2448

I appreciate the info, Clive.
This is my tap/die set. Cheap as you guessed! https://www.screwfix.com/p/tap-die-set-20-pieces/7105v?_requestid=612229
but well reviewed.. I'll try and find something to practice on, not sure what at the moment!

I'll definitely get some M12 nuts to stiffen it all up. I'll probably have a go tomorrow night, Monday night is gym night so it was dark when I got back.
Cheers!

Member
Joined:
Posts: 662

At least they look to be proper second cut taps and will start cutting immediately. Trick is to keep it dead straight and push firmly down as you turn to keep it cutting.

As you have about 10 mm to go into there is a bit of room to play with if you have problems starting. If you have an 11 mm drill using that for the first couple or 3 mm or so before doing the rest of the hole 10 mm will make it much easier to get it started nicely.

Reviews suggest its reasonable set so can't really grumble for the money. Heck I'm used to paying more than that for just one tap!

Clive

Member
Joined:
Posts: 2448

So do these taps need me to back up every half turn? Or will they shoot the crap out of the far end of the hole?

Member
avatar
Joined:
Posts: 8107

No, you must back off every half turn or so to release the swarf and let it drop out. If you don't, the flutes will get clogged, it will get harder and harder to turn the tap until it either jams or you snap it off in the hole.

Member
Joined:
Posts: 2448

Thanks!
but kinda irrelevant at the moment as the M12 bolts won't fit in the puller :(
ARSEcakes.
Time for plan D

Member
Joined:
Posts: 2448

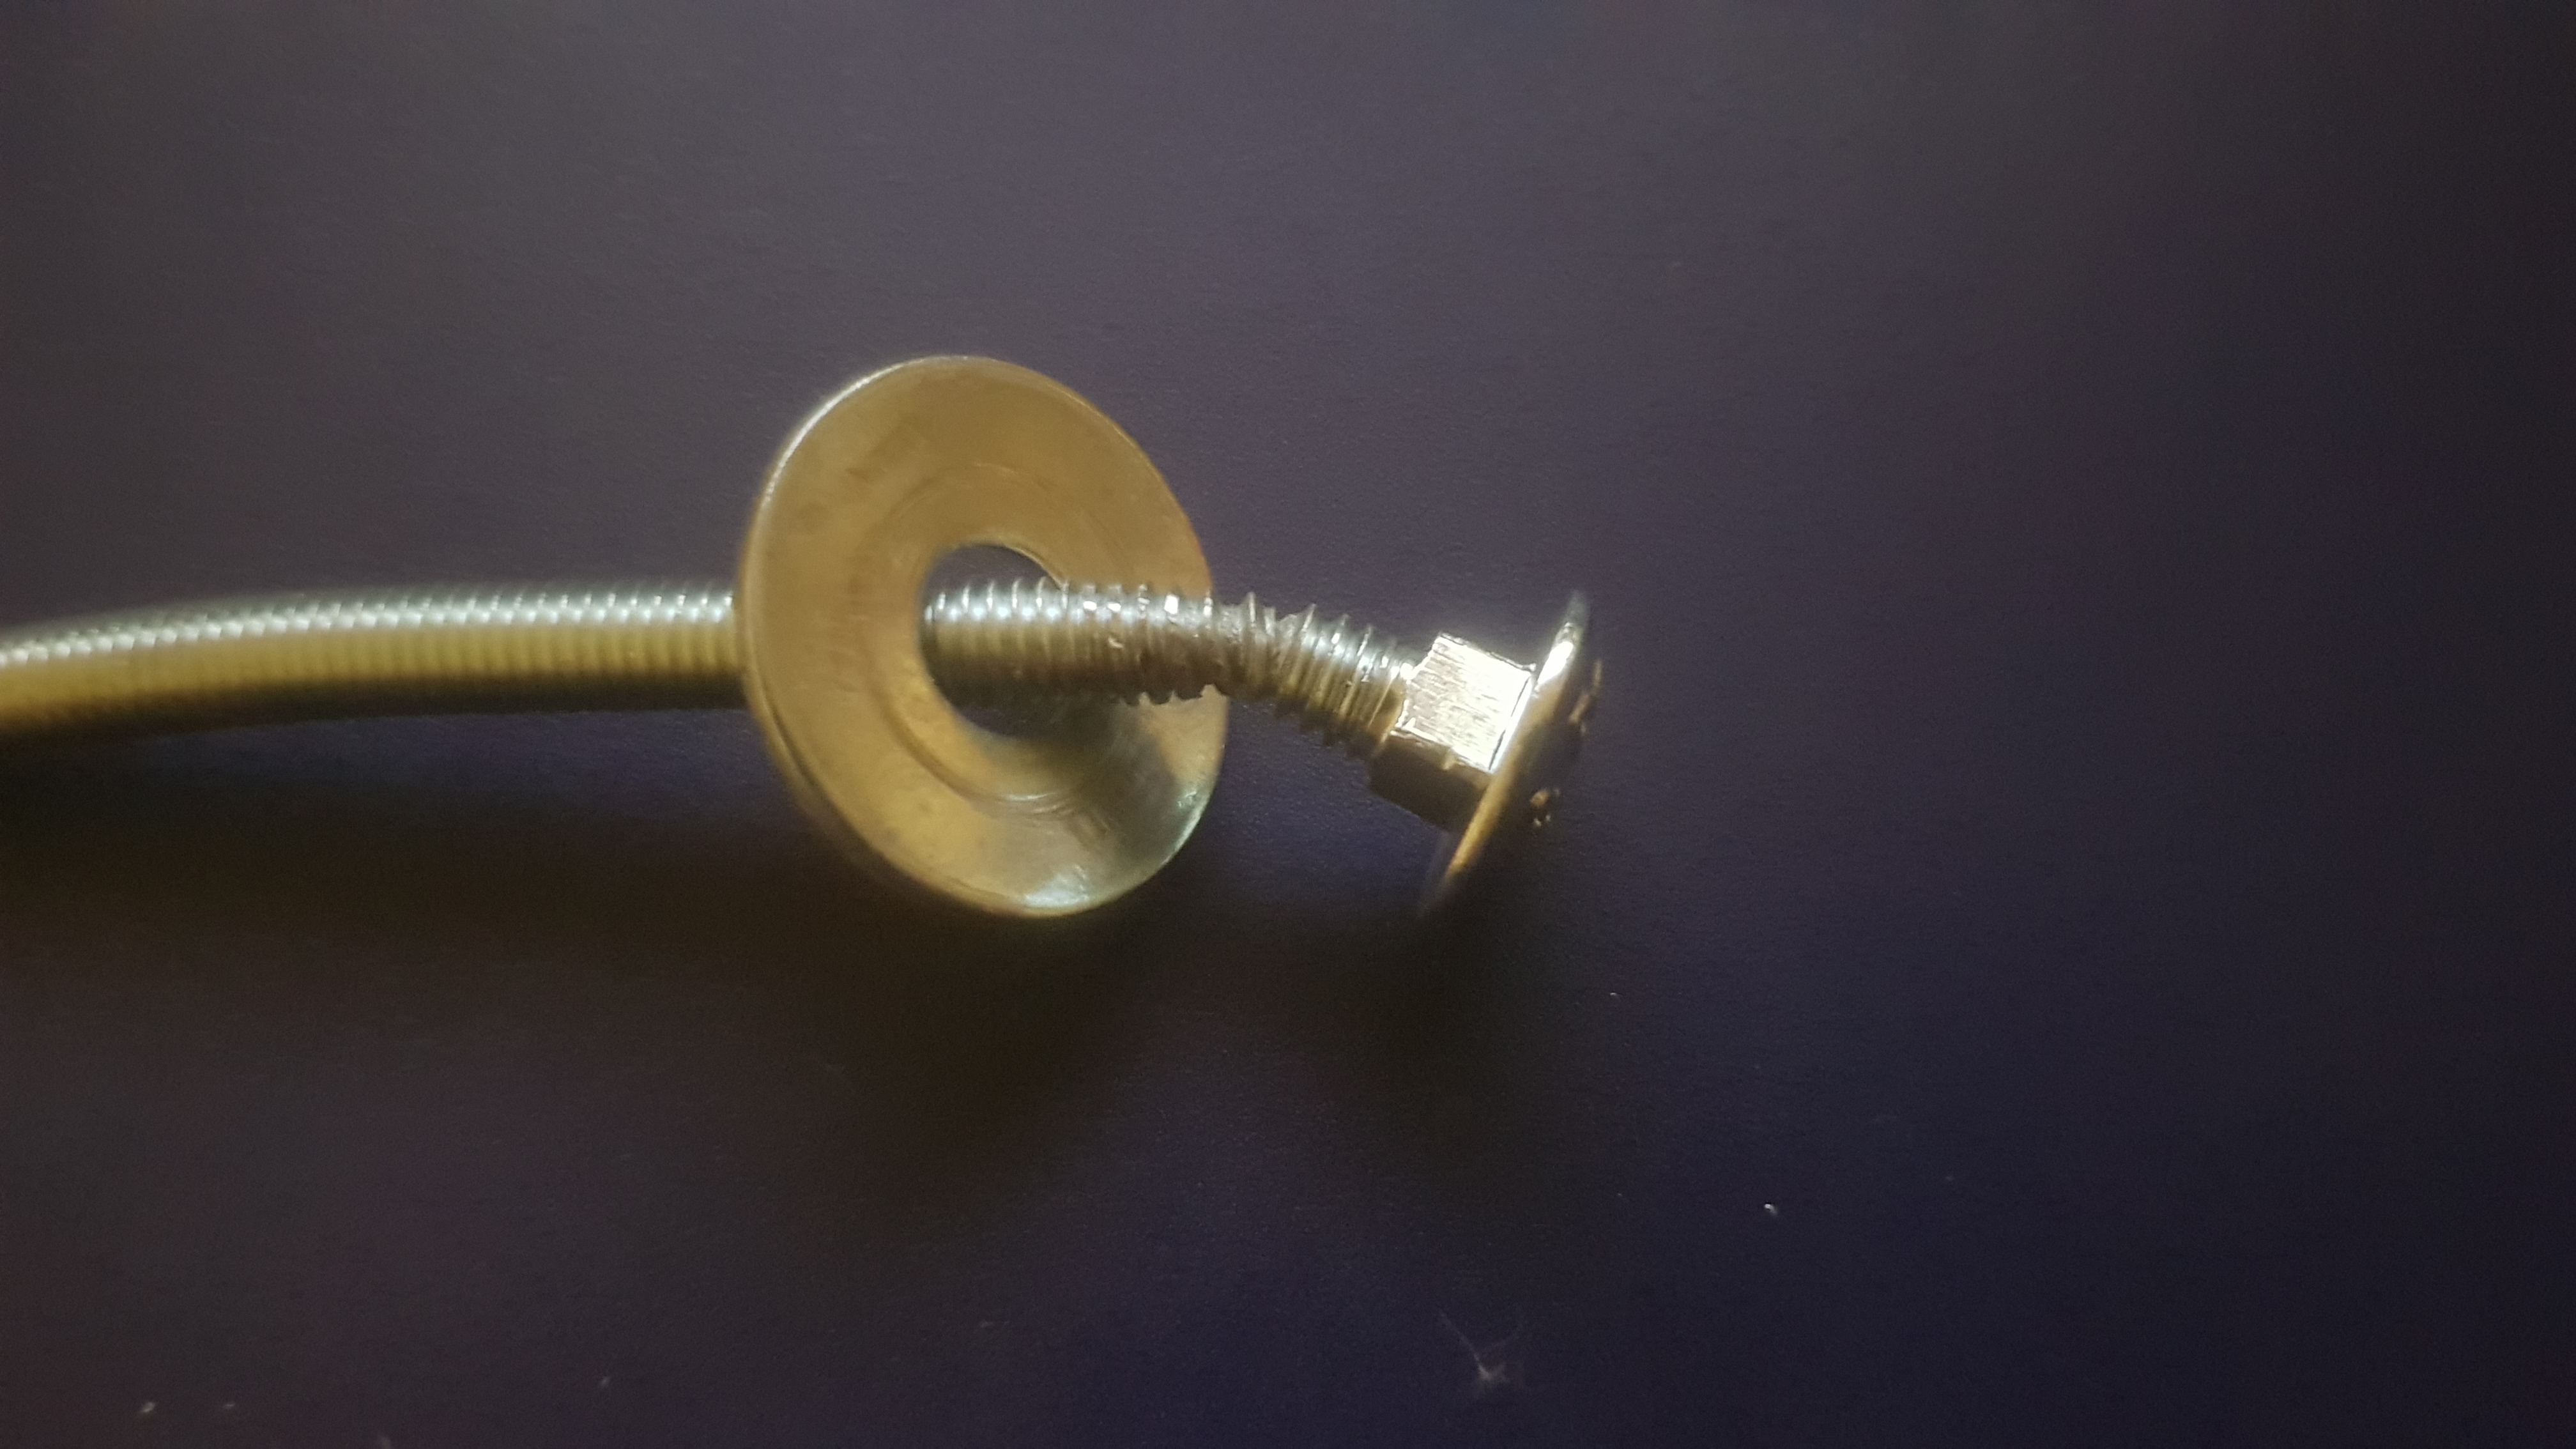
I know M12 sounds a little excessive but here's what happened to the M6 bolts when I tried them:

enter image description here

Member
avatar
Joined:
Posts: 8107

Not a straight pull then......

However, that does look like a roofing bolt, usually made from a grade of steel marginally harder than plasticine.

Member
Joined:
Posts: 2448

Yeah, I've no idea what steel it is. It just came out of the "Coach bolt" selection at the local hardwarw place.

Keeping the puller straight is the real issue. Once I start getting decent tension on it, the puller just flops over.

There's not enough space for washers behind the wheel so I think my next plan is either to find a puller with bigger slots or to drill the holes to the size of the biggest bolts that fit the puller (m8, like the thread that pulled out) use nuts behind the wheel again and hope the tighter holes keep the puller straight so I can get even more tension on it.

edit: It's a 4.8 steel bolt, so about half the strength of 8.8 Ah well, I doubt even a really strong bolt would have helped when pulling sideways :(

Member
Joined:
Posts: 2448

The local garage have failed to get the steering wheel off :(
They're going to cut it off if I can get another one from a breaker.
Sorry, it's not RR related but hey. Fun and games!

Member
Joined:
Posts: 341

Don’t cut the steering wheel off.....
Get a can of BLASTER PB and spray it on the connection. Leave it overnight. The steering wheel will come off but you need to be patient and when doing so pull really hard in various spots of steering wheel. It’s a pain in the hole to do it but it will come off. It took me the bones of an hour.
Don’t cut the steering wheel.....

Member
avatar
Joined:
Posts: 8107

JMCLuimni wrote:

Don’t cut the steering wheel.....

Why not? It's only on his old Jeep, not anything important........

Member
Joined:
Posts: 2448

JMCLuimni wrote:

Don’t cut the steering wheel off.....
Get a can of BLASTER PB and spray it on the connection. Leave it overnight. The steering wheel will come off but you need to be patient and when doing so pull really hard in various spots of steering wheel. It’s a pain in the hole to do it but it will come off. It took me the bones of an hour.
Don’t cut the steering wheel.....

Sadly, it has had several doses of PB Blaster over quite a few days, no dice.

Member
Joined:
Posts: 2448

Gilbertd wrote:

JMCLuimni wrote:

Don’t cut the steering wheel.....

Why not? It's only on his old Jeep, not anything important........

:P don't be rude :)

Member
Joined:
Posts: 341

Put a blow torch to it... heat the metal .... don’t cut the steering wheel